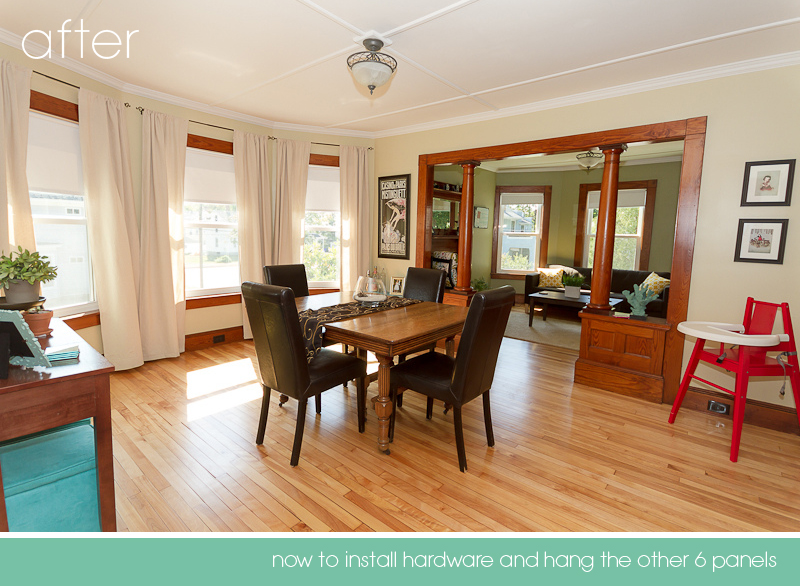
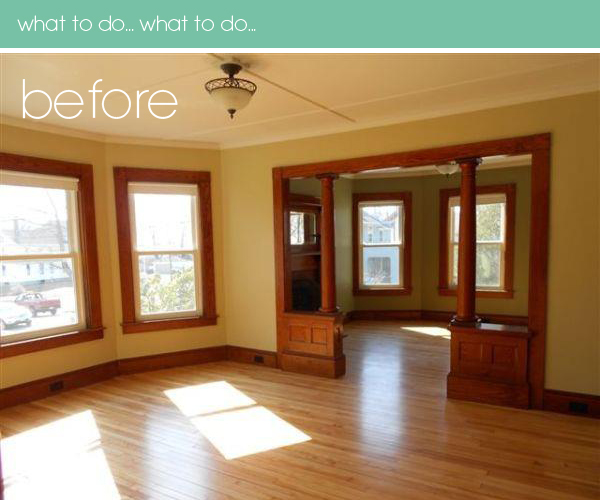
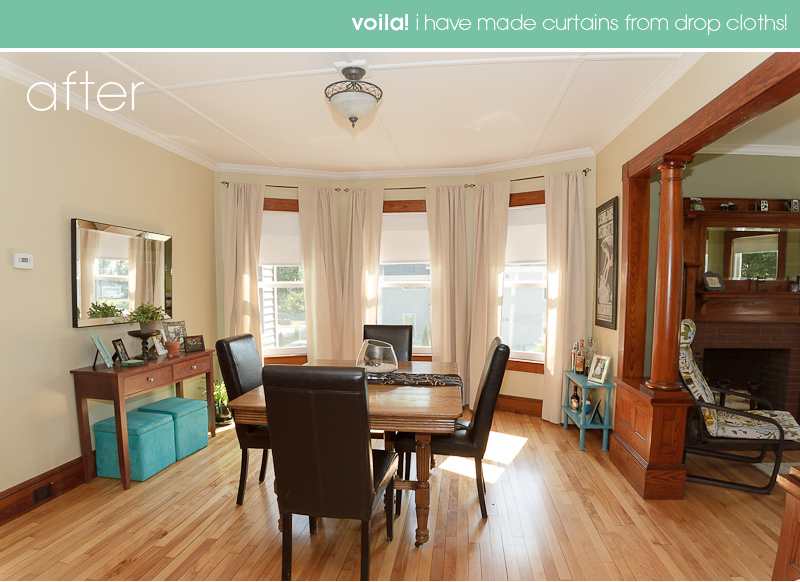
Guest blog by Amber Jodoin: Greetings from Violet and the Bean! I am honored to blog about a recent DIY decorating project my wonderfully talented friend, Julie Chrissis, recommended I try in regards to a curtain dilemma I had been having. Our new digs have a total of 19 windows. Six of those windows are in the dining room and front parlor. The two rooms are open to each other, but clearly divided by beautiful turn of the century columns. It's been a long while since I have had lots of windows. Our little condo only had three and each was in a completely different room; I didn't have to worry about flow or matching.
We have been here for just over two months now. And for about the first eight weeks, we lived with bare naked windows. I didn't want to just run out and buy whatever was on sale for the sake of having curtains. I really love the look of full length drapes, but of course with those, like most things, comes a very hefty price tag. Even the more affordable drapes run about $20 per panel.
My first thought was to buy inexpensive fabric and sew some lined drapes. I went to the fabric store and picked up some muslin and white lining and made a test pair of curtains. They came out wonderfully, but I am not all that skilled at sewing (I can do it, it just takes me a loooong time.) Three hours later, I had one pair of muslin curtains. They came out great and cost about $15 per panel. Given how much time it took me, not much of a savings. Five more windows at three hours each... ummm... yeah.. no.
Then I decided maybe I should just suck it up and buy the darned things. But honestly, I couldn't find anything I liked under about $35 per panel. I just couldn't cough up that much moola for rented windows.
I was still trying to figure out what to do, when my friend Julie, an interior designer and owner of Chrissis and Company Interiors, stopped in one morning. She was checking out the new space and I had mentioned my little dilemma. That is when she told me she had made curtains for her apartment out of drop clothes she got at Home Depot. The canvas fabric is basically the same color as a muslin - actually it is a little more brown which I actually prefer. It makes it easier for me to tie in the two rooms. At first I thought the natural color would be to much of a contrast on the sage green walls in the front parlor, but Julie assured me once I had the throw pillows, carpet and curtains in the room it wouldn't look stark at all.
Who am I to argue with a pro? Seriously - check out her work. She has created some beautiful interiors for premier properties in the Boston area.
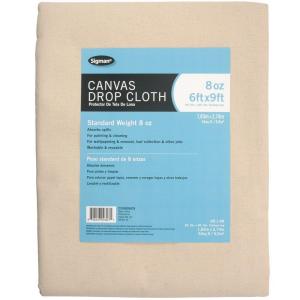
So I head to the Home Depot pick up some drop cloths like this for $10.98 (but I had a coupon for 10% off):
The drop clothes come in a wide variety of widths and lengths. I purchased 6' x 9' drop cloths to give me plenty of fabric to work with.
It took me about one hour per pair. I didn't take pictures of the process, but basically I cut the drop clothes in half and rolled and ironed a hem (Thank you to my sister and Becky O'Neil of Becky Oh! for teaching me the importance of ironing as you sew), and zipped a straight line to finish of the side. I measured where I wanted the hardware to be and the length I wanted to curtains (mine at 91" finished due to my fabulously high ceilings). Then I measured off about 4" at the top to create a rod pocket and did a simple 3" hem at the bottom.
I didn't bother with a lining - I may add one at a later point but the house has blown in insulation in the exterior walls, new windows that have be caulked with silicone and the land lord is insulating the between the joists in the basement. I don't think a lining will really make a difference at this point.
She also directed me to get window hardware from Christmas Tree Shoppe. I was a little hesitant because I had always associated CTS with a place to buy next years yard sale crap - but once again she did not steer me wrong. I picked up six rods and brackets for $3.99 each. Wooooo to the hooooo! Did I mention this girl is talented and smart??
So basically, each window cost me $13.87 complete with hardware. I feel like a rock star.. or at least I like I deserve a gold star.
 Of course, because we live in an old home, nothing is perfect. I'm not sure if you can tell from the photo or not - but the window casing closest to the fireplace abuts a wall and the left side of the casing is actually more narrow than the rest. Which means, we have to place the bracket up against the wall angle, remove the final and I will probably have to take at least one third off of one panel to "trick the eye" and stop the curtain from "creeping" too much into the actual window. C'est la vie!
Cheers and happy decorating! Amber Jodoin
Amber Jodoin was born at an early age and raised in New Hampshire. She has lived in various cities around the US and currently resides in New Hampshire with her husband and two daughters in a beautiful turn of the century home surrounded by maple trees and kamikaze squirrels. A formally trained graphic designer and photographer, as well as an interior design fan, avid blogger and an art nutter, she owns Sophie Bean Photography and specializes in modern children's portraiture, creative photography and urban landscapes. Her photographic work has been published in multiple issues of Time Life magazine as well as living rooms around the area. Visit her at on Flickr, Twitter, Facebook and read more about family, art and the randomness of life on Violet and the Bean.


